Okay, so I’ve been seeing these “sun and moon” bracelets everywhere, and I finally decided to give it a shot and make my own. I’m not gonna lie, it took a bit of trial and error, but I think I finally got it down!
Gathering My Supplies
First things first, I needed to gather all my materials. I went to my local craft store and kinda just wandered around until I found stuff that looked right. Here’s what I ended up with:
- Some stretchy cord – the clear, elastic kind.
- Beads! I picked out some small, round gold beads for the sun and some silver ones for the moon.
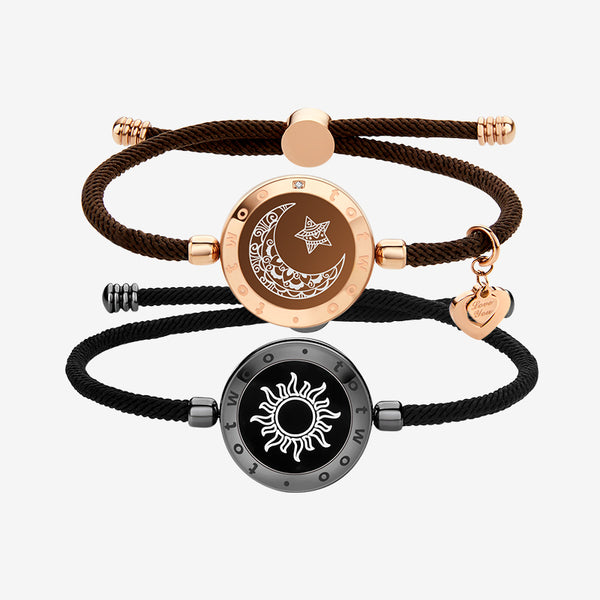
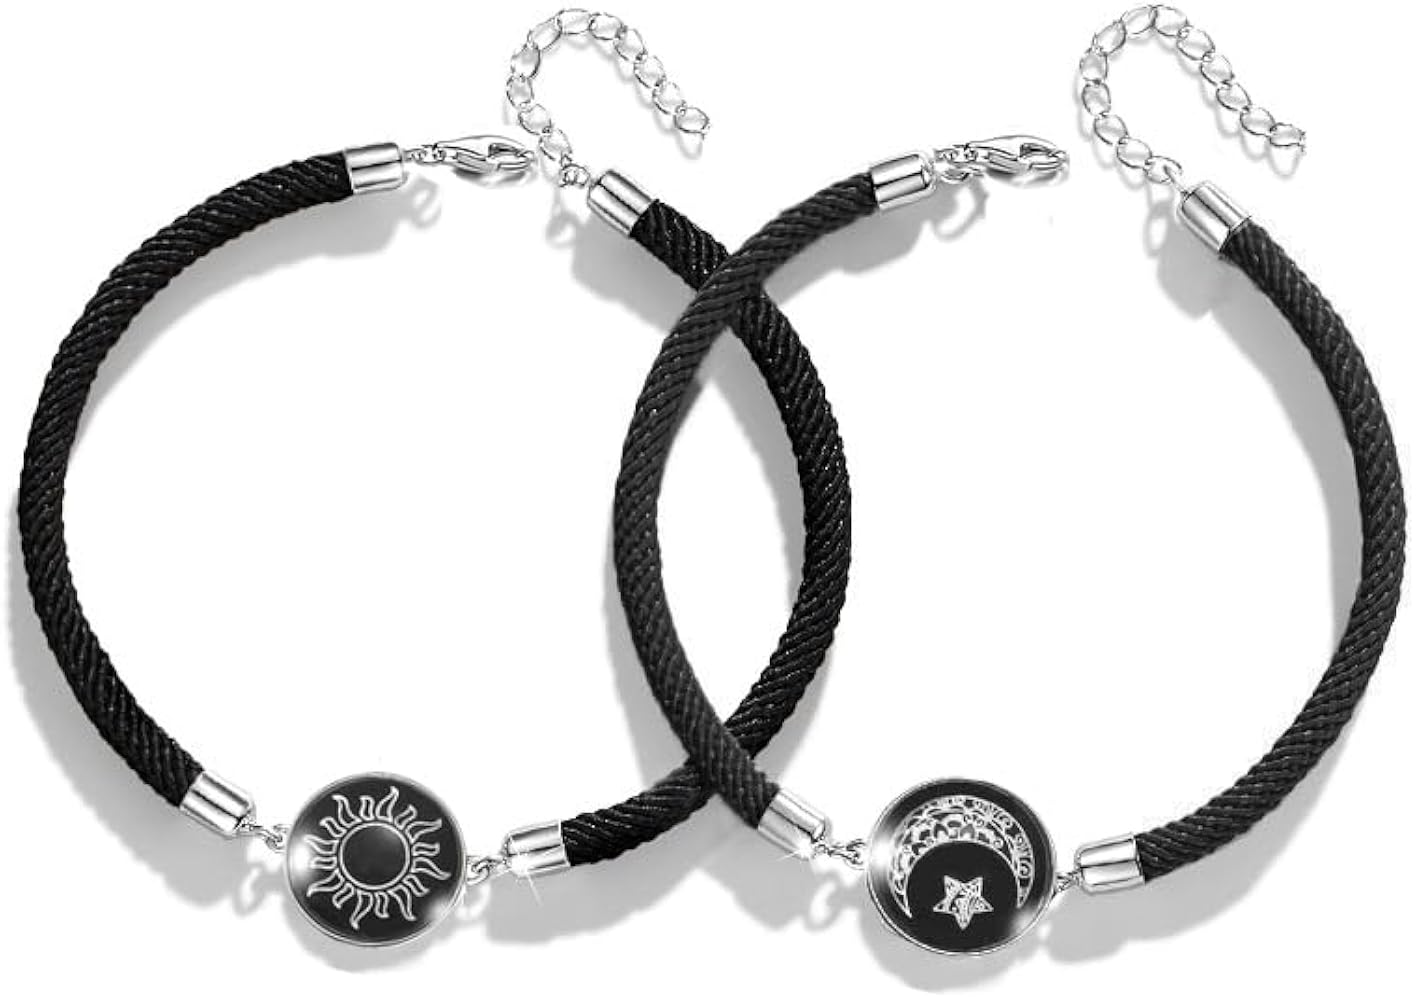
- A couple of special beads – a larger, kinda sparkly gold one for the center of the sun, and a crescent moon-shaped silver bead.
- Scissors. Obviously.
- A little bit of clear nail polish (this is a secret weapon, trust me).
The Trial and Error (Mostly Error) Part
Alright, so I started by cutting a length of the stretchy cord. I figured it’s better to have too much than not enough, so I went pretty long. My first attempt…well, let’s just say it didn’t go so well. I tried to just string the beads on, but they kept sliding around, and I couldn’t get the pattern right. It was a mess.
Then I remembered seeing something about using a beading needle. I didn’t have one of those, so I improvised with a bobby pin. I straightened it out and used it to help guide the cord through the tiny beads. It worked…okay. Still a bit fiddly.
Figuring Out the Pattern
The key, I realized, was to really plan out the pattern before I started stringing. So, I laid out the beads on my table in the order I wanted them. For the sun side, I did the big sparkly gold bead, then a few smaller gold beads on either side. For the moon, I put the crescent moon bead in the middle and surrounded it with the silver ones.
Stringing and Knotting (The Real Deal)
With the pattern all set, I carefully started stringing the beads onto the cord, using my makeshift bobby pin needle. It was still a little tricky, but way easier than my first attempt. Once all the beads were on, I double-checked to make sure it was long enough to fit my wrist comfortably, with a little extra room for tying.
Now for the scary part: the knot. I tied a simple square knot, pulling it as tight as I possibly could. Then, I tied another one, just to be sure. And another one. Okay, maybe I went a little overboard, but I did not want this thing to break.
The Finishing Touch
Finally, I trimmed the excess cord, leaving just a tiny bit sticking out. And here’s where the clear nail polish comes in! I dabbed a tiny bit onto the knot. This helps to seal it and prevent it from unraveling. It’s like a little extra insurance policy.
And that’s it! My very own sun and moon bracelet. It’s not perfect, but I made it, and I’m pretty proud of it. It actually looks pretty cool, if I do say so myself. I am wearing it right now!