
Alright, so yesterday I finally got around to messing with this Mercury Neptune V3 router I picked up.
First, I gotta say, the whole setup process was kinda confusing at first. You know how it is with new tech. But I figured it out eventually.
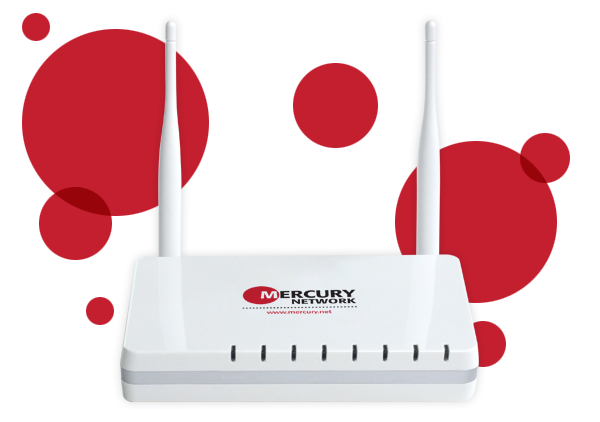
Connecting the Hardware
So the first thing I did was hook up all the cables. I mean, that’s the obvious first step, right? I plugged the internet cable into the right spot, connected the power, and then linked my computer to one of the LAN ports with an Ethernet cable. I had to make sure that the internet cable from my modem was plugged into the WAN port on the router. I’ve made that mistake before, not fun.
Logging into the Router
Next, I opened up my browser and typed in the default address, which was “*”, to get into the router’s settings. They usually have this printed on the bottom of the router or in the manual. Then I used the default password to log in. Sometimes it’s “admin” or “password,” but this one had something else. I found it on the label on the bottom of the device.
Quick Setup
Once I was in, I went straight to the “Quick Setup” section. It’s usually pretty straightforward from there. You just follow the steps, like choosing your connection type. I wasn’t totally sure about my connection type, but I remembered it’s usually DHCP for most home setups. It was! I just set that and hit next.
Setting Up the Wi-Fi
After the internet connection part, it was time to set up the Wi-Fi. I gave my network a name, you know, something easy to remember but not too obvious. Then I set a strong password. Gotta keep those Wi-Fi thieves out! I went for the strongest security option. I chose WPA2/WPA3, as it’s the most secure at this time.
Finished!
After all that, I just followed the rest of the prompts, saved the settings, and rebooted the router. Took a few minutes, but once it was back on, I was connected! It felt good to get it all working. Now my Wi-Fi is strong and, hopefully, secure.
So yeah, that’s how I set up my Mercury Neptune V3 router. It wasn’t too bad once I got the hang of it. Now, I’m all set to enjoy some fast internet. I hope my little journey through router setup land was helpful for you guys. Catch you in the next post!


